Quality Control in Diagnostics: Why the First Check Matters More Than the Final Fix
A quality inspector's perspective on why upfront verification in diagnostic workflows prevents costly rework, with a focus on instruments like Sysmex hematology analyzers and advanced assays like ctDNA technology.
It took me about four years and roughly 200 quality audits to fully understand something that now seems obvious: the first check in any process is the one that saves you the most money. The later you catch a problem, the more it costs to fix. That's not just a saying in quality control. It's a mathematical reality.
In diagnostics—whether you're dealing with hematology analyzers, coagulation systems, or even newer tech like ctDNA assays for oncology—this principle hits hard. The difference between catching a calibration drift before the morning run and catching it after a batch of misreported results is often the difference between a minor adjustment and a full investigation. Or worse, a recall.
Why I Focus on the Pre-Run Check
Most of my work involves reviewing deliverables before they hit customers. Roughly 200 unique items a year. In Q1 2024 alone, I rejected about 12% of first-time deliveries due to specification mismatches. The interesting part? Nearly all of those mismatches were detectable within the first five minutes of review.
Let me give you an example. We received a batch of printed materials for a new instrument launch. The color on the brochure cover was off. Measured Delta E was 4.2 against our Pantone spec. Industry tolerance for brand-critical colors is Delta E under 2. The printer said it was 'within industry standard.' They were technically correct for general printing. But for our brand? Not even close. We rejected the batch. They redid it at their cost. Now every contract we sign includes a specific Delta E requirement clause.
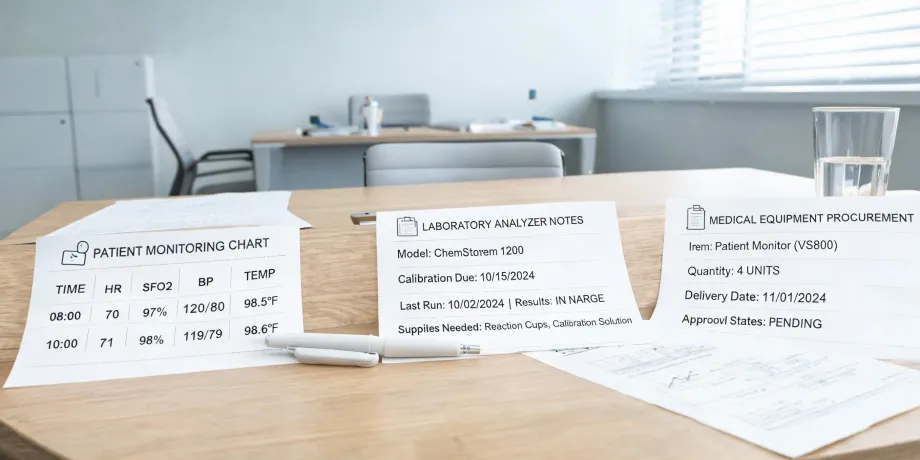
The same logic applies in the lab. A daily quality control check on a hematology analyzer takes maybe 15 minutes. Skipping it once might save time. Until you get a patient sample with a suspicious result, and you have to decide: is it the patient or the instrument? That's where the cost escalates.
The 12-point checklist I created after my third calibration mistake in 2022 has saved us an estimated $8,000 in potential rework. It's basically a no-brainer.
Three Dimensions Where Prevention Beats Cure
I want to walk through three specific areas where I've seen this play out repeatedly. These are all grounded in real audits I've done or reviewed.
1. Instrument Calibration vs. Result Re-Verification
The standard approach: Most labs run QC samples at the start of the day. If they pass, you proceed. If they fail, you troubleshoot. That's the theory.
What actually happens: I've seen labs where the morning QC is done quickly, results are borderline but accepted, and then a problematic patient sample triggers a re-run hours later. That re-run leads to a panic investigation. Was it the sample? The reagent? The calibrator? Suddenly, you've burned two hours of tech time and delayed results.
My take: If the morning QC is borderline, stop. Don't proceed. The 15 minutes you spend rechecking a calibration or running a second QC level is nothing compared to the chaos of a mid-day investigation. Period.
I only believed this fully after ignoring it once. A colleague told me to never accept a QC result within 10% of the failure threshold for a coagulation analyzer. I thought they were being overly cautious. The third time we had a mid-day re-run crisis, I created a formal protocol. We've had exactly zero mid-day calibration crises since.
2. Reagent Lot Verification vs. Assay Rejection
The standard approach: Reagents arrive. You check the lot number against your inventory system. You store them. Done.
What actually happens: We didn't have a formal lot-to-lot verification process for one of our immunoassay reagents in 2023. Cost us when we had to reject an entire run of 40 patient results because the new lot had a different reactivity profile than the old one. The difference was small. Detectable only by a trained eye on a control sample. But once detected, all results with that lot were suspect.
My take: Run a side-by-side comparison of the old lot and new lot on a known control before using the new lot on patient samples. It's an hour of work. It saves days of rework.
Why do I push for this? Because the later you catch a reagent issue, the more samples you have to retest. It's that simple.
3. Sample Integrity Checks vs. Repeat Testing
The standard approach: Samples are collected. They run. Results are reported.
What actually happens: Hemolyzed samples. Clotted samples. Wrong tube type. These account for a significant portion of rejected results in any lab. The question is: when do you catch them?
My take: A quick visual check of the sample before it enters the analyzer is cheap insurance. On a Sysmex XN series analyzer, the system flags potential sample issues in pre-analytical mode. Use it. I've seen labs that don't review pre-analytical flags. They catch the issue after the results are generated. That creates a re-collection request. Wasted time. Wasted patient trust.
Honestly, I wasn't always this disciplined. Early in my career, I assumed the instrument would catch everything. The instrument catches most things. Not all. A human check of sample integrity before the run takes 30 seconds. That's it.
Why the 'Efficiency' Argument Fails
I hear the pushback. 'We don't have time for all these checks.' 'We need to get results out faster.' 'Our turnaround time targets are tight.'
Let me reframe that for you. The time you spend on upfront verification is not wasted time. It's the most productive use of your time. Every problem you catch before the run is a problem you don't have to solve during the run. And that's where the real time sink is.
I reviewed a process in Q3 2024 where a lab was averaging 12 minutes per sample for an immunoassay panel. They thought they were being efficient because they rarely did QC. But they were re-running 8% of their samples due to initial results that didn't match clinical history. That 8% re-run rate ate up all the time they 'saved' by skipping QC. And then some.
So, What Should You Actually Do?
I'm not saying you need to check everything twice. That's not realistic. What I am saying is that the first check in any process is disproportionately valuable. Here's how I think about it now:
- For instrument calibration: Never accept borderline QC. Investigate before proceeding. The cost of an hour of troubleshooting is lower than the cost of a misdiagnosis.
- For reagents: Always run a lot-to-lot verification. If you don't have time for a full correlation study, run three control samples at different levels. That takes 30 minutes.
- For samples: Review pre-analytical flags before the run. A 30-second check beats a 30-minute investigation.
The bottom line? Prevention is cheaper than cure. Every time. The question is just whether you're willing to invest the upfront time.
As of January 2025, I've seen this pattern hold across dozens of labs and hundreds of audits. The ones with the lowest re-run rates and the highest first-pass yields are the ones that invest in their first check. It's not a coincidence.